
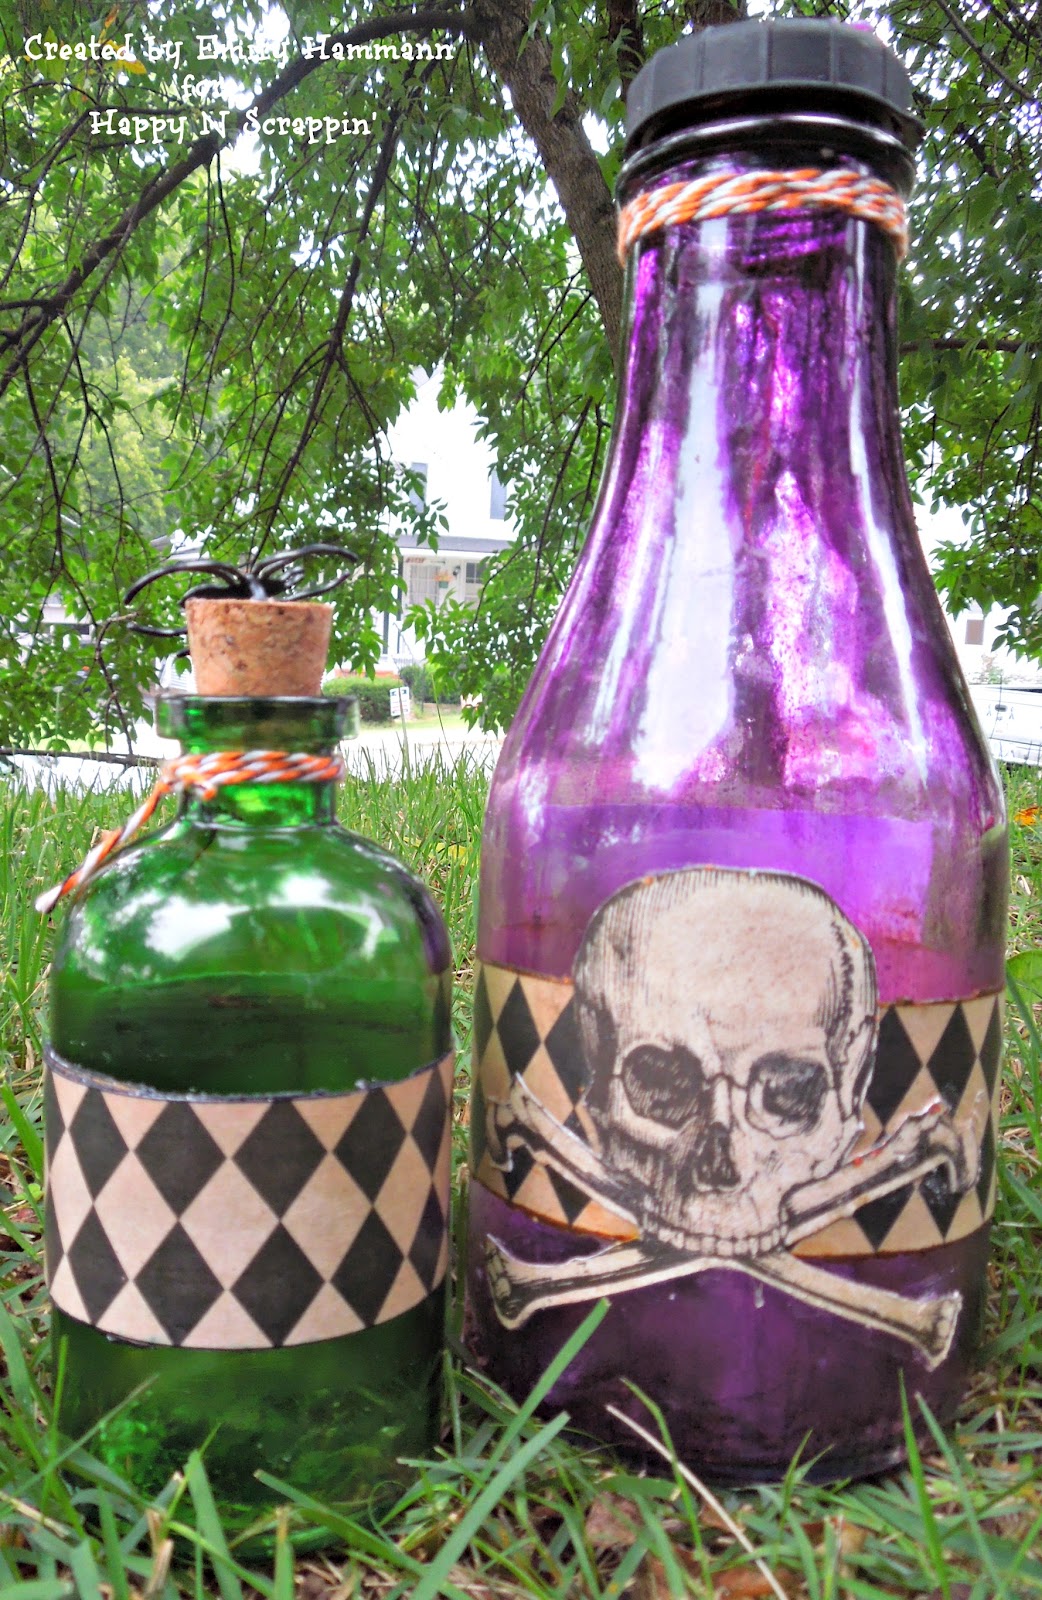
Good morning and Happy Friday! Emily here with some bottles that I altered using My Mind's Eye's Lost & Found Halloween Collection. I had a blast working with the collection and these bottles. It was actually a pretty simple project!
The bottles are reused from products I had in my house... the glass milk bottle is from some bath salts, and the smaller bottle held my diffuser oil and reeds until it ran out. I can't stand to throw things away, so I reused them for Halloween decorations!

I used alcohol inks to color the bottles. After the bottles were cleaned and dried, I squirted a little bit of alcohol ink in each of them, closed the tops and shook it up until the ink covered every last inch of the insides of the bottles.
The milk bottle was harder to get coverage on... I don't think I used enough ink to begin with. I plan on going over this one again.
After the insides of the bottles were covered, I dumped out any remaining ink and then let the bottles dry upside down.

Here is the back of my milk bottle. I cut out the skull from one of the papers in my kit and Mod Podged it to the backside of my bottle. I used Rock Candy Crackle Paint over it. When the paint had dried I used Distress Ink in the cracks so that it would look more like a real skull.
It looked pretty good when it was finished....


This second bottle was colored the same way. I had a cork for this one that fit the top, so I used it to close it. I wish I had a large enough cork for my milk bottle, but I didn't, so I used acrylic paint to color the lid on it.

I added Doodlebug Twine to the top of both bottles when they were finished. The spiders were another touch I added when the bottles were complete. My kids had them leftover from last Halloween, and I thought they would look cute on the bottles. :)

The final products....
Thanks so much for stopping by to see this latest project.... I have more Halloween projects to share with you using this same collection that I will be sharing next week!!
Click on any of the images below to take you to the products from the store used in today's project!


